
Preparation: The Prelude
Safety First: Before diving into the operation, ensure the vehicle’s engine is off and has been given ample time to cool down. Safety gear, such as gloves and eye protection, is highly recommended to prevent any unexpected solos.
Access: Gain access to the alternator by removing any components that stand in your way. This might include parts of the air intake system, various belts, or even the alternator itself, depending on your vehicle’s design orchestra.
Identification: Know Your Instruments
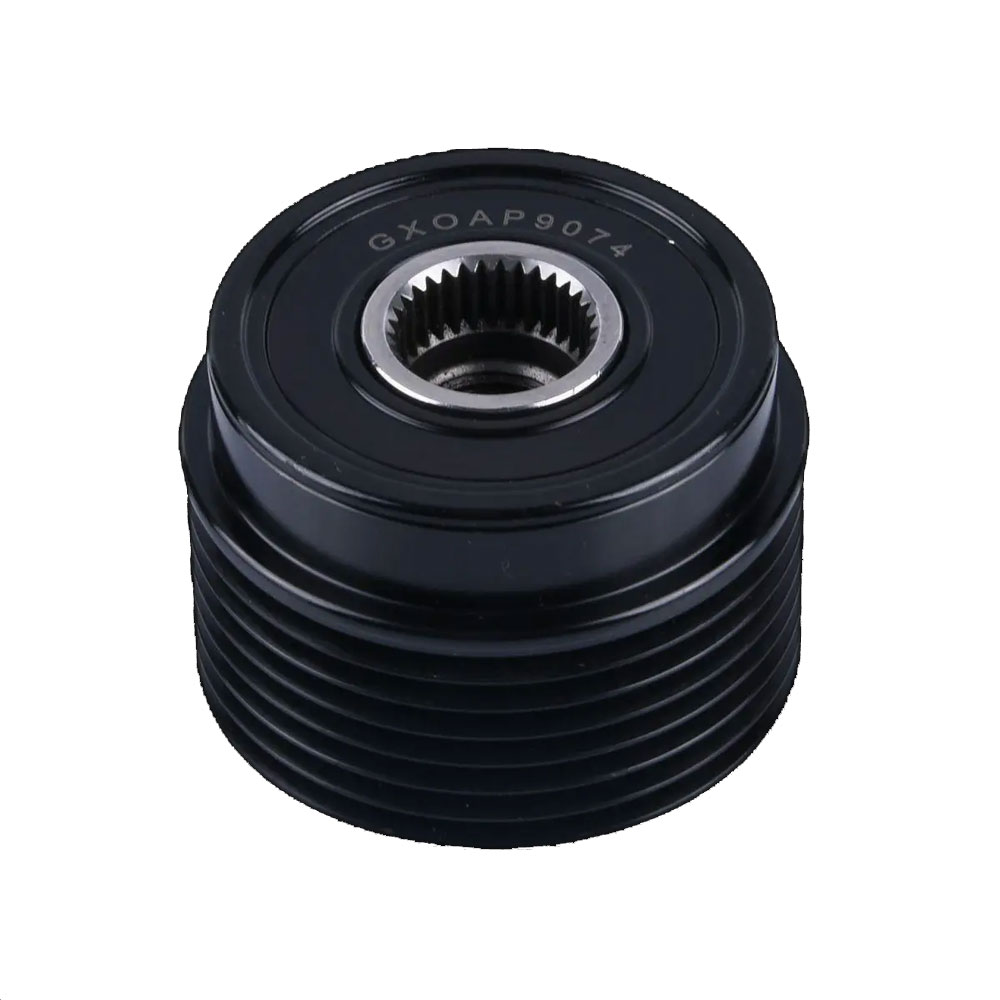
Identify the Pulley Type: Not all pulleys are created equal. Determine whether your alternator uses a solid pulley, an Overrunning Alternator Pulley (OAP), or an Overrunning Alternator Decoupler (OAD). Each type may require a slightly different approach or tool.
The Main Performance: Pulley Removal
Select the Correct Removal Tool: Alternator pulley removal tools come in various shapes and sizes, tailored to fit the specific design of the pulley. Ensure you have the right tool for the job—a universal alternator pulley removal kit is often the best choice for its versatility.
Set Up the Tool: Attach the removal tool to the pulley. This typically involves fitting a socket onto the nut of the pulley and securing the tool in place. The exact setup will depend on your tool’s design and the pulley type.
Loosen the Pulley: Hold the alternator shaft in place using a wrench on the alternator’s output shaft (if accessible and necessary) to prevent it from spinning. Then, turn the removal tool’s handle or use a ratchet to loosen and unscrew the pulley. This step requires patience and a steady hand—apply force evenly and carefully.
Intermission: Checking the Orchestra
Inspect: Once removed, inspect the pulley and the alternator shaft for any signs of wear, damage, or unusual wear patterns. This is crucial for ensuring a smooth performance when the new pulley takes the stage.
Encore: Preparing for the New Pulley
Prepare the Alternator Shaft: Clean the alternator shaft gently with a suitable cleaner and a rag to ensure a clean mating surface for the new pulley.
Install the New Pulley: If you’re immediately installing a new pulley, reverse the removal process, carefully following any installation instructions specific to the new pulley. This might involve torqueing the pulley to specific specifications, so consult the manufacturer’s guidelines.
Curtain Call: Final Checks
Reassemble: Reinstall any components you removed to gain access to the alternator pulley.
Test: Start the vehicle and listen carefully. A successful performance is marked by the absence of belt squeal, alternator whine, or any unusual noises.
How to adjust alternator pulley?
Adjusting an alternator pulley typically involves tensioning the alternator belt rather than adjusting the pulley itself, as the pulley is fixed to the alternator’s shaft. However, the process of ensuring the correct tension in the alternator belt (which indirectly affects the pulley’s performance) is crucial for optimal vehicle operation.
Overture: Preparation
Safety Measures: Begin with the engine off and cooled. Safety cannot be an afterthought; ensure you’re wearing protective gear and that the vehicle is securely parked.
Access the Stage: Depending on the vehicle’s design, you may need to remove components or covers to gain clear access to the alternator and its belt.
First Movement: Inspecting the Belt
Visual Inspection: Examine the belt for signs of wear, such as cracks, fraying, or glazing. If the belt shows any of these wear signs, consider it a cue for replacement rather than adjustment.
Second Movement: Loosening for Adjustment
Loosen the Alternator Mounting: Alternators are typically mounted using a pivot bolt and one or more adjustment bolts or a bracket. Loosen these slightly to allow the alternator to move for belt tension adjustment. Do not remove the bolts—just loosen them enough to adjust the alternator’s position.
Third Movement: Adjusting Tension
Adjust the Tension: If your vehicle has an adjustment bolt, turn it to move the alternator away from the engine and increase belt tension. If it uses a bracket or manual adjustment, use a pry bar gently against the alternator to adjust its position. The goal is to achieve proper tension on the belt.
Checking the Harmony: Belt Tension
Tension Check: The belt should have about a half-inch to an inch of play or deflection at its longest span between pulleys. Too tight, and you risk bearing damage; too loose, and the belt will squeal, reducing alternator efficiency.
Finale: Tightening and Testing
Secure the Alternator: Once the correct tension is achieved, tighten the pivot bolt and any adjustment bolts or brackets while holding the alternator in position. Ensure everything is securely tightened to prevent any movement during operation.
Operational Test: Start the engine and listen for any unusual noises such as squealing, which indicates incorrect tension. Observe the belt during operation to ensure it runs smoothly without wobbling or slipping.
Encore: Regular Maintenance
Periodic Reviews: Belt tension and condition should be part of regular vehicle maintenance checks. Even a well-tuned automotive orchestra needs its instruments checked and adjusted regularly to maintain performance.
Professional Consultation: If you’re unsure about the correct tension or the belt’s condition, consulting with a professional mechanic can prevent missteps that might lead to performance issues or damage.
How much does it cost to replace alternator pulley?
The cost to replace an alternator pulley can vary widely based on several factors, including the make and model of the vehicle, the type of pulley system (standard, Overrunning Alternator Pulley (OAP), or Overrunning Alternator Decoupler (OAD)), labor costs in your region, and whether you opt for OEM (Original Equipment Manufacturer) or aftermarket parts.